1. Billing Portal
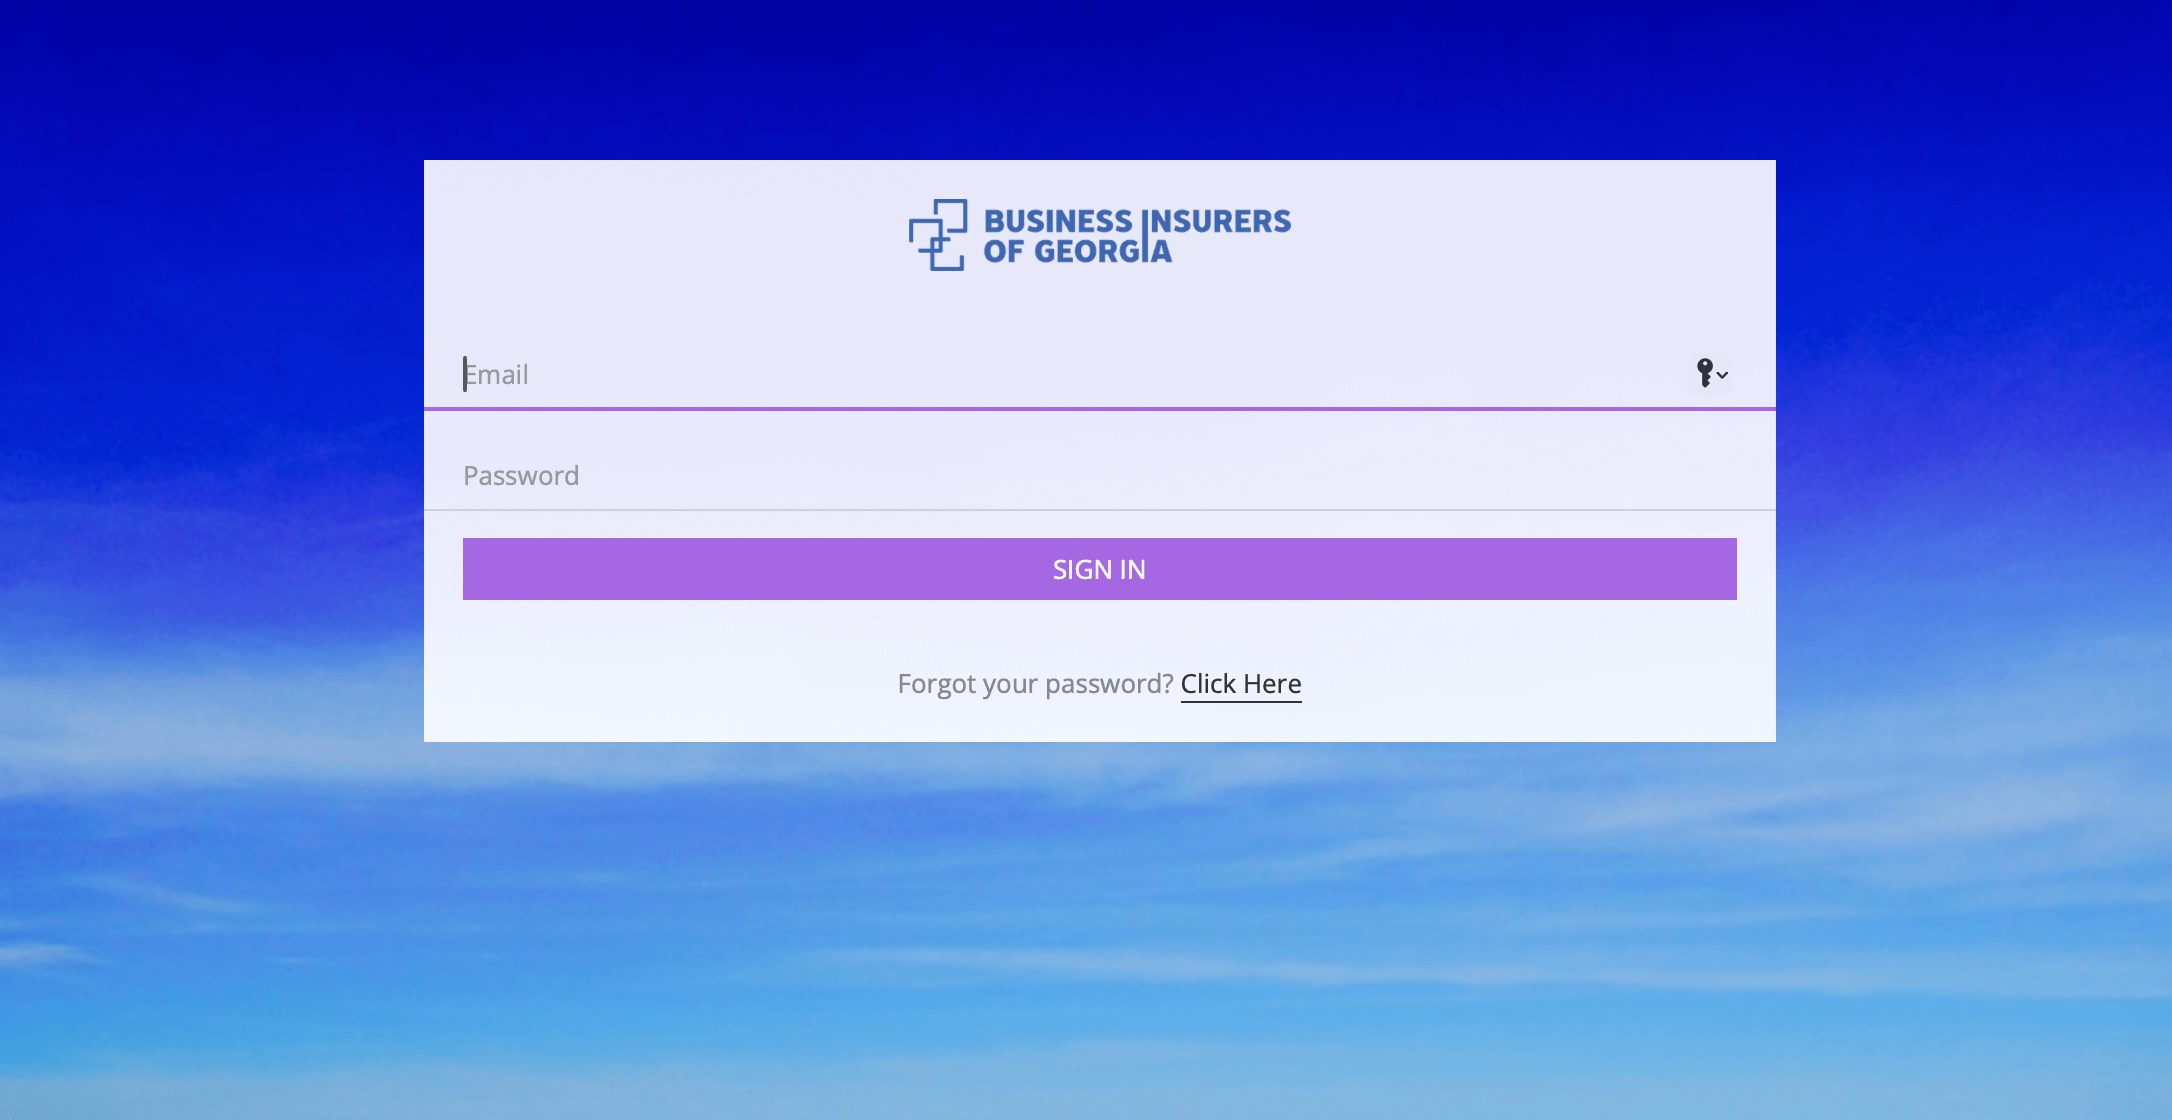
Access our billing portal through your preferred web browser. Click here to access the login screen. Access to the portal requires users to enter their e-mail address and password.
2. Dashboard
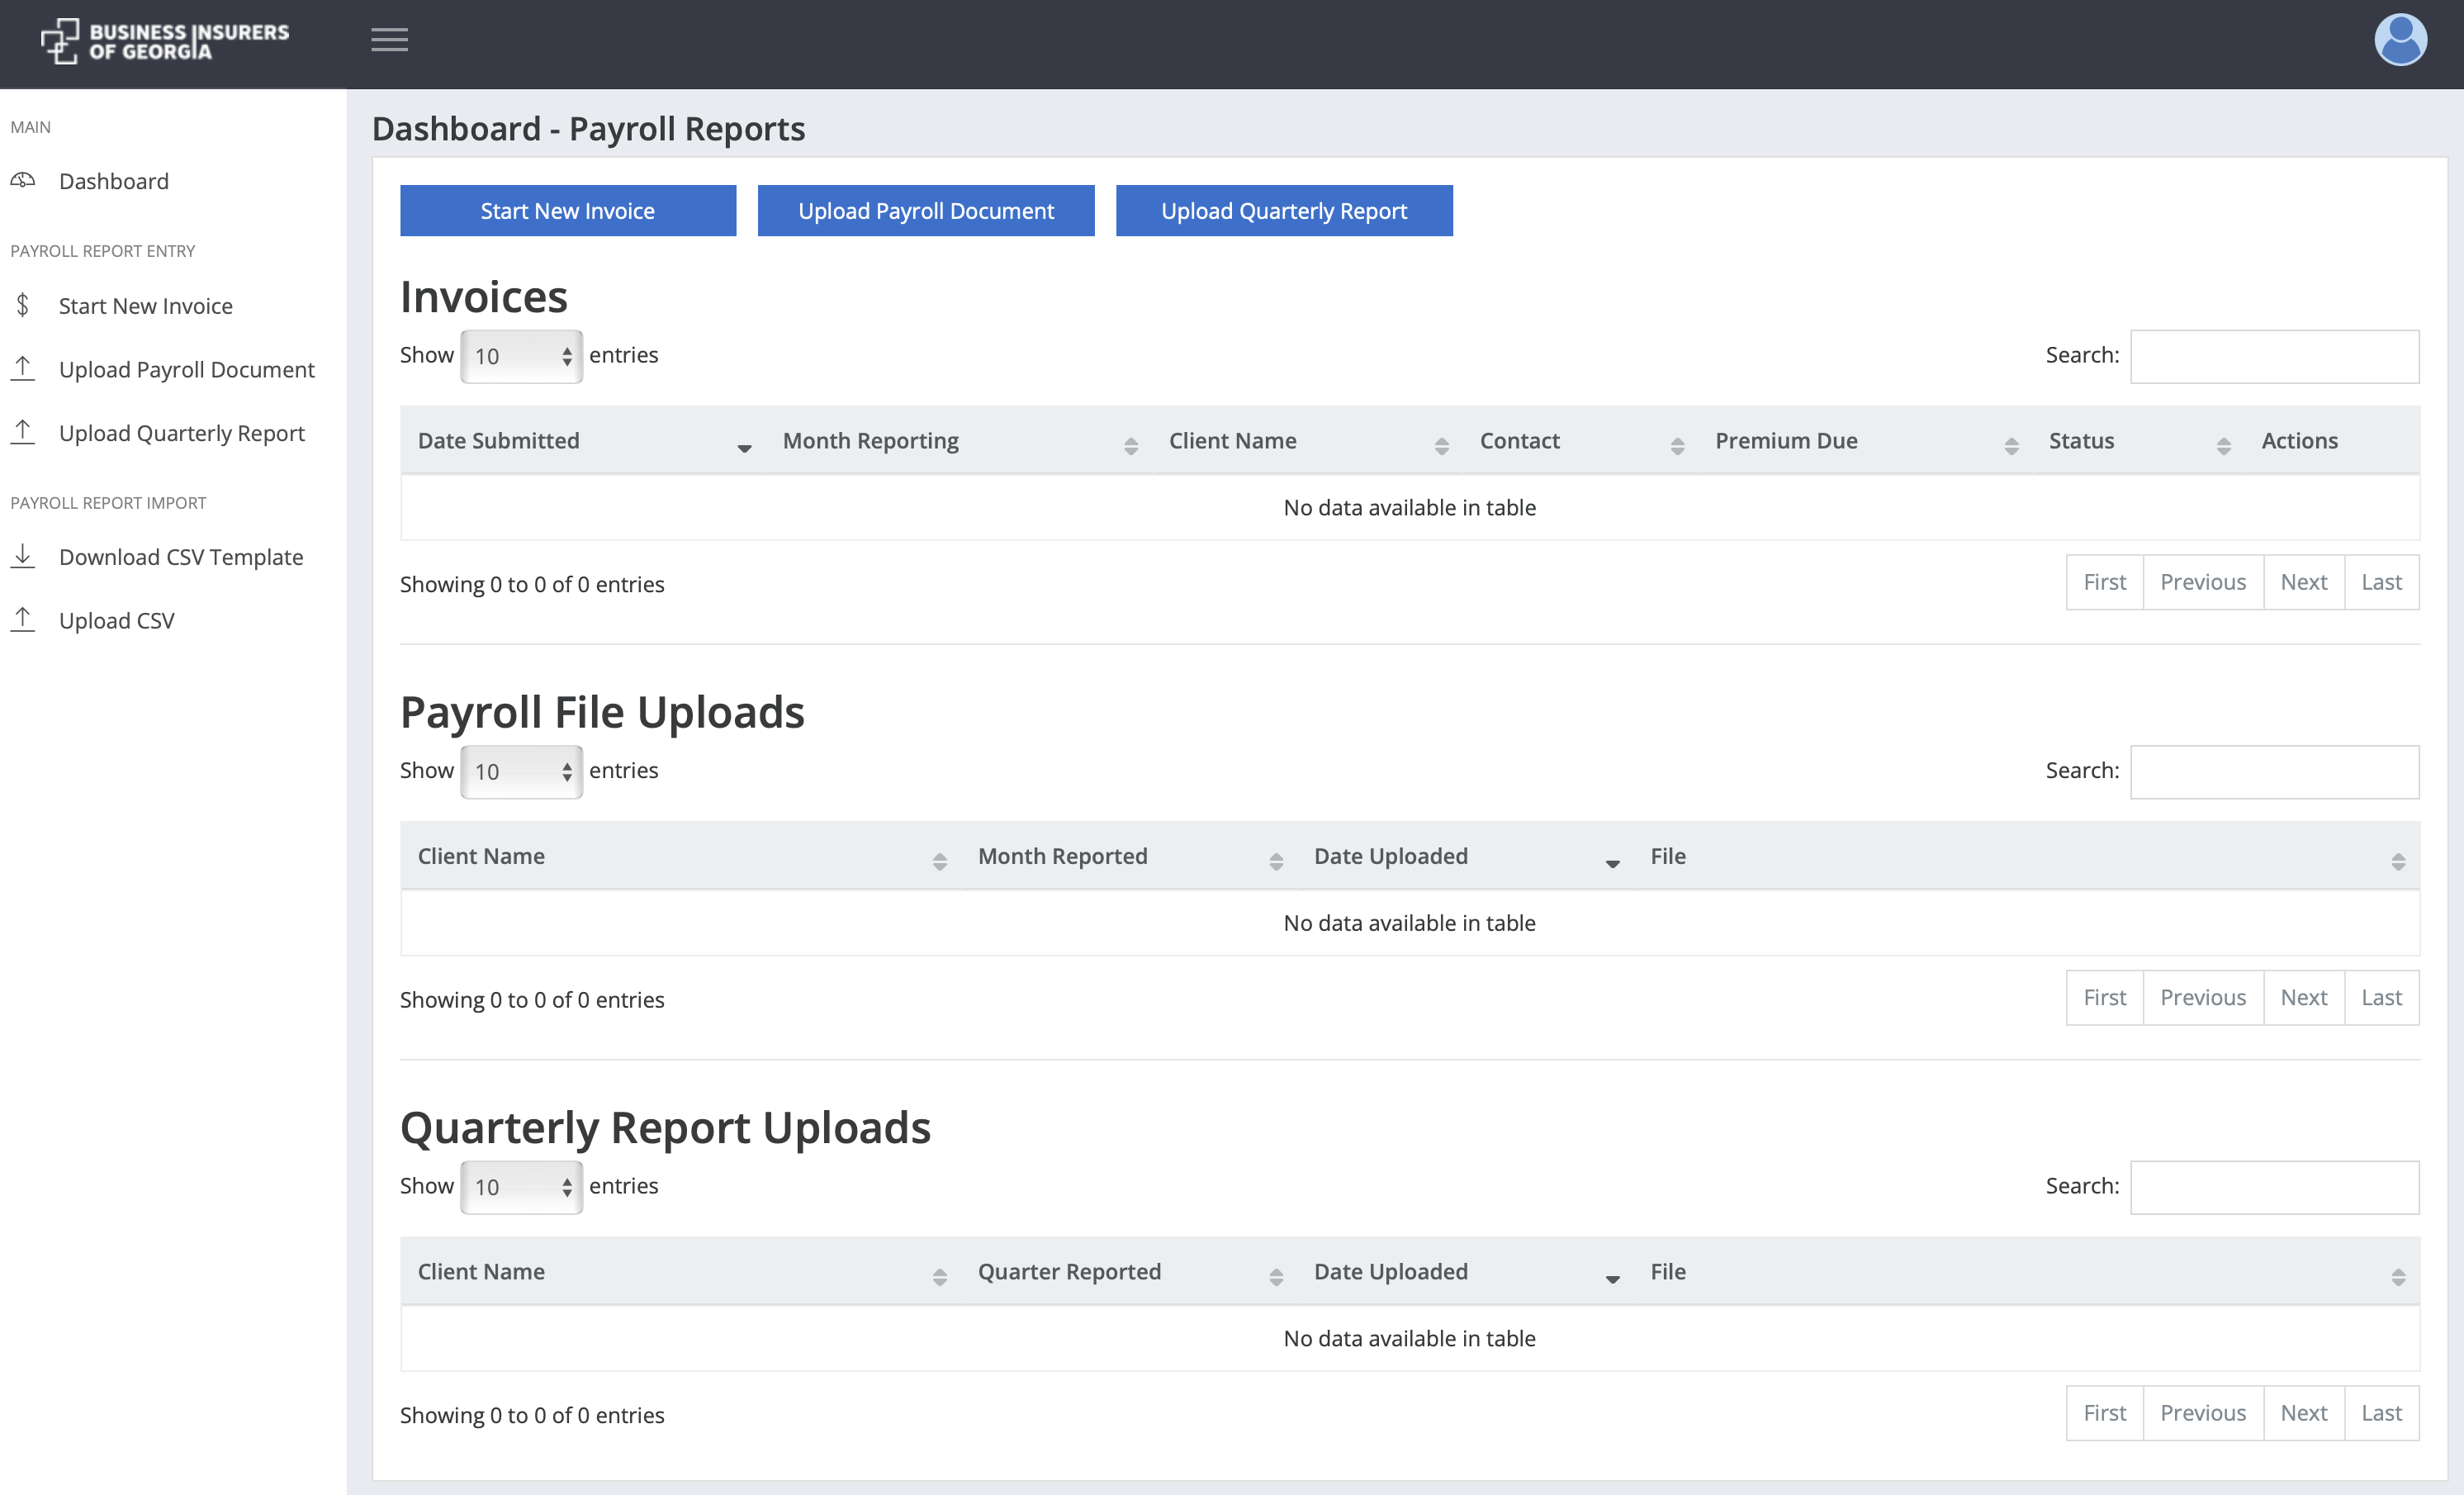
After successfully logging in, a dashboard will display. The navigation bar on the left side of the browser contains links to view the dashboard, start a new invoice, or upload payroll or quarterly report documents. For your convenience, buttons that execute these same functions are available at the top of the dashboard. A list of your payroll invoices, payroll file uploads, and quarterly report uploads appear within their respective table on the dashboard. The Invoices table contains both “draft” and submitted invoices. Invoices saved as drafts can be edited or deleted. Submitted invoices may be viewed after submission.
3. Creating an Invoice
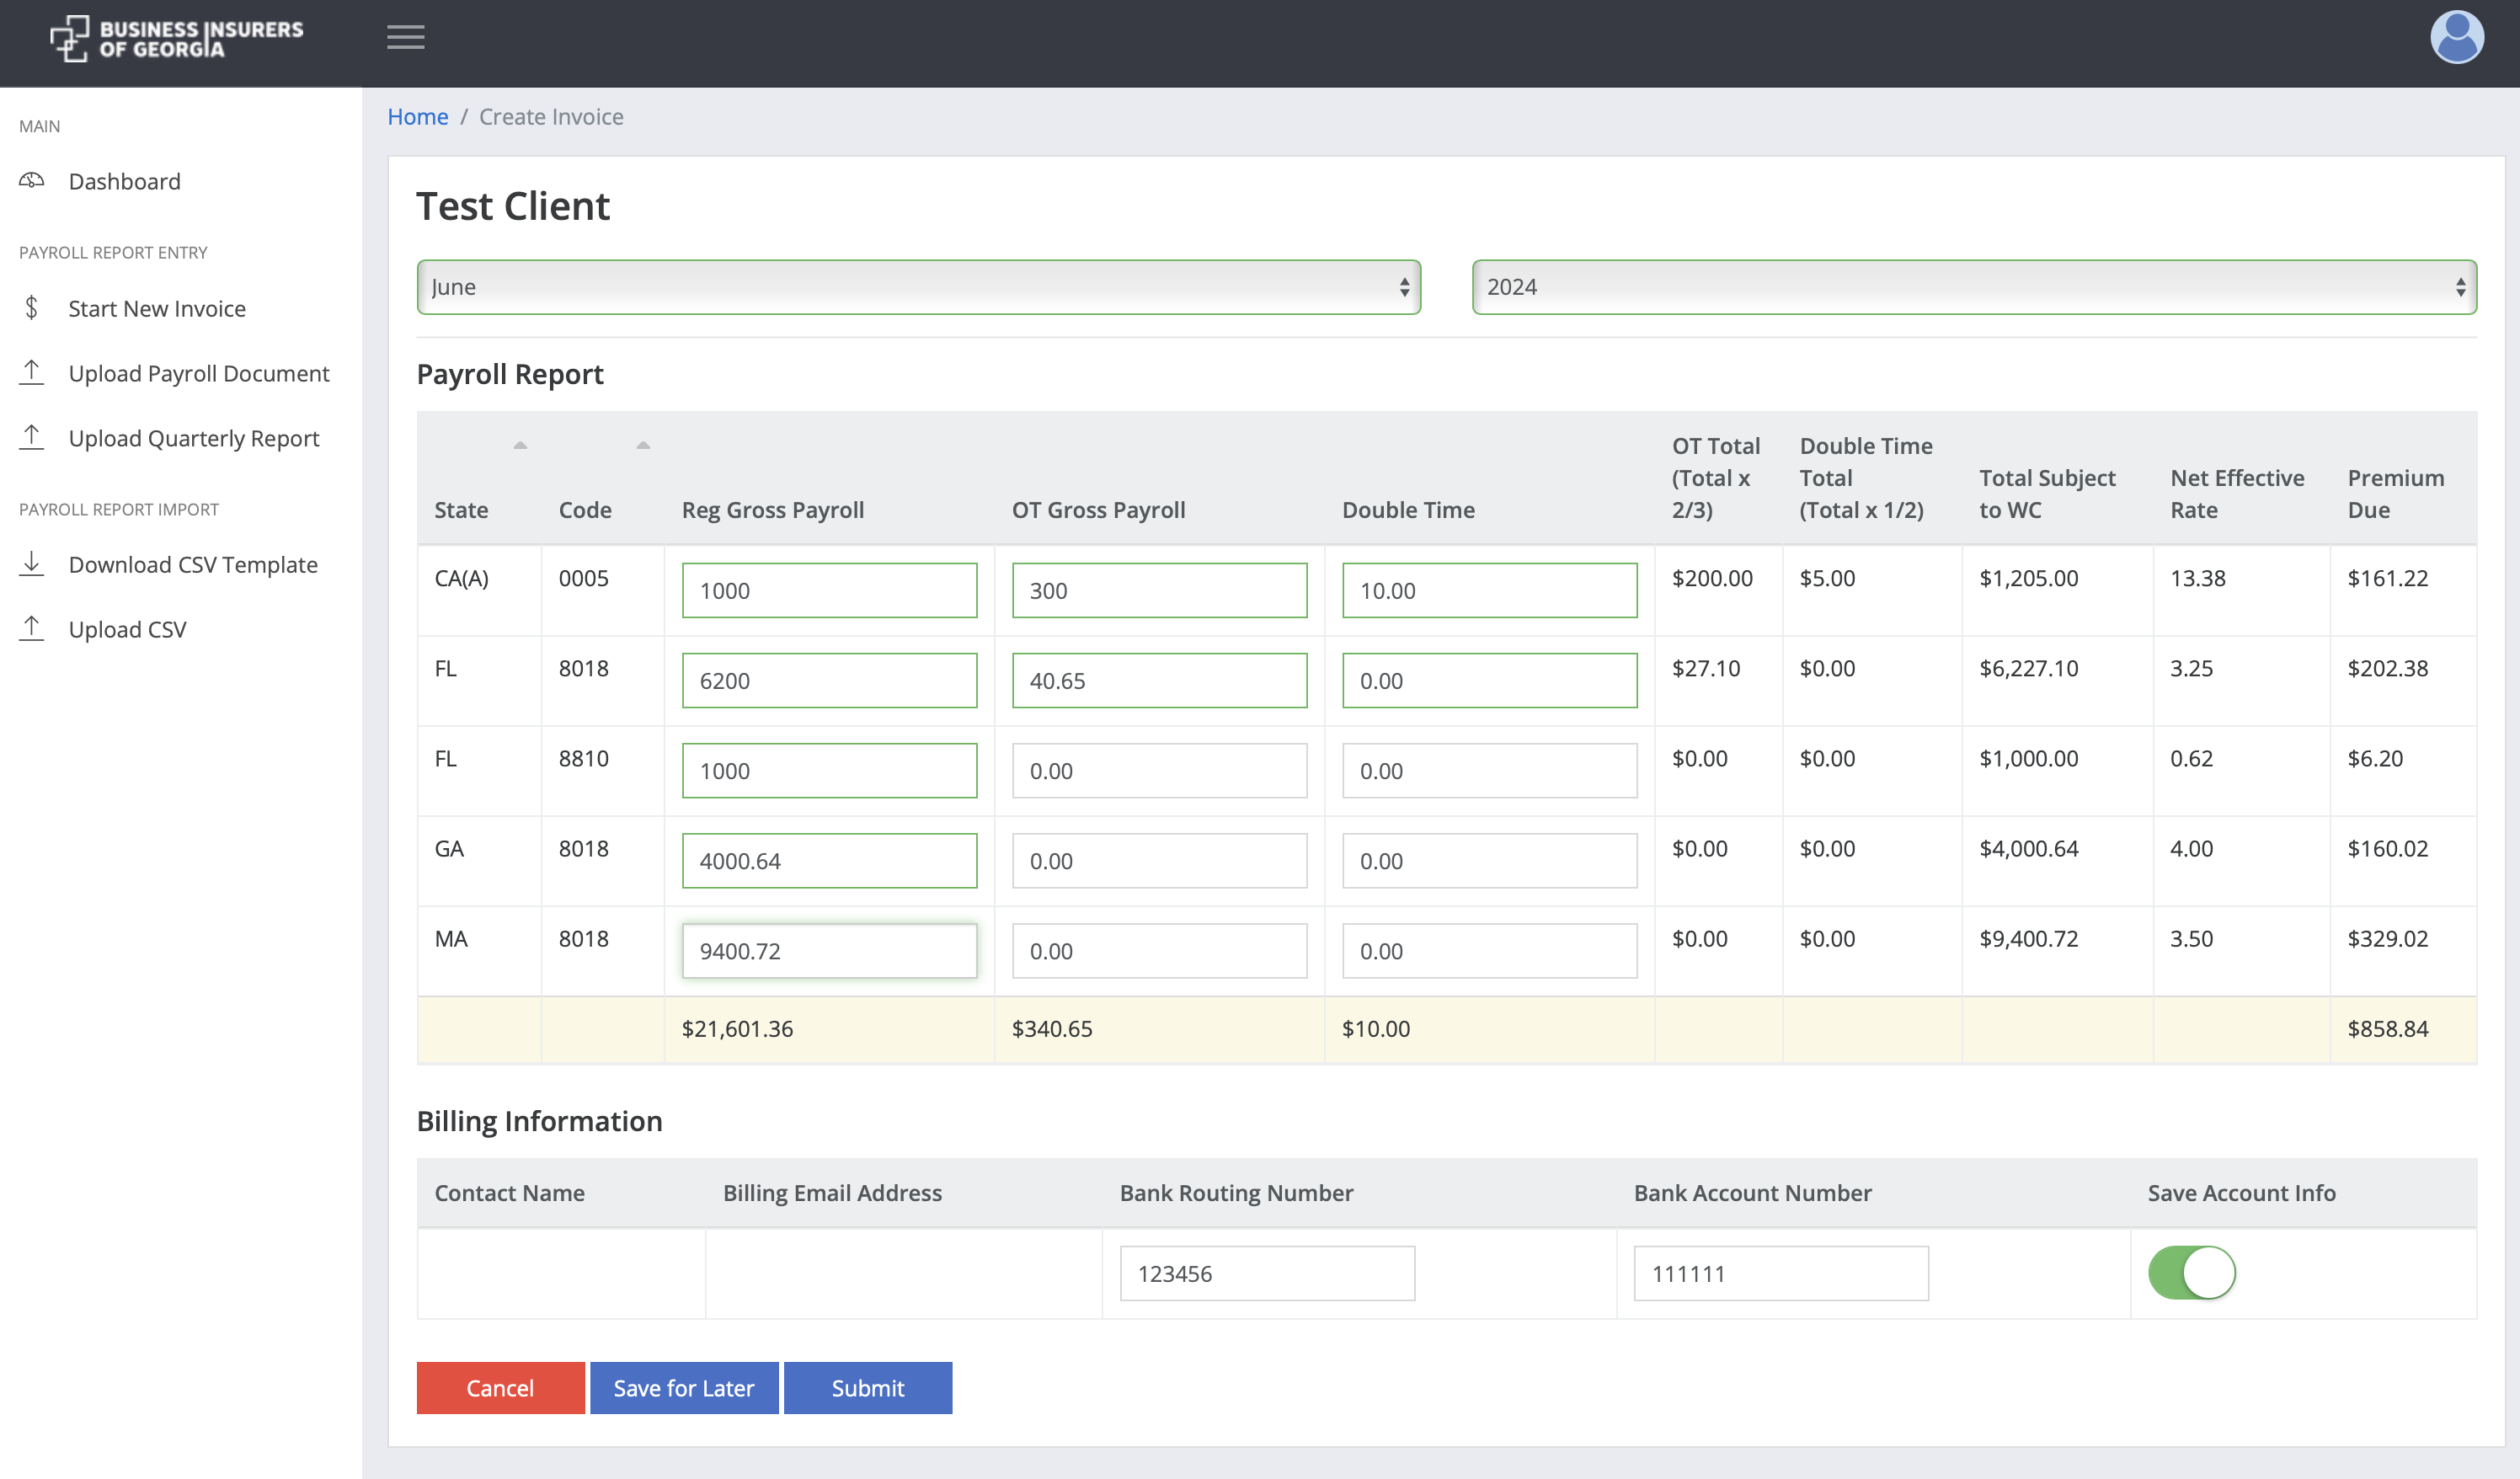
Create an invoice by clicking the Dashboard’s “Start New Invoice” button. Enter Total Regular Gross Payroll, Overtime Gross Payroll (if applicable), and Double Time Gross Payroll (if applicable) for each class code. Your Total Premium Due will automatically calculate as you build your invoice. At the bottom of the page, you can enter and save your bank routing and account numbers for ACH purposes. Please note that payment will not automatically process at the time the invoice is submitted. Instead, BIofGA will process your payment manually after reviewing your corresponding payroll report and ensuring accuracy. To finalize your invoice, click “Submit.” If submission is successful, you will immediately receive an email confirmation that includes the submitted invoice for your records.
4. Upload Supporting Payroll Documents
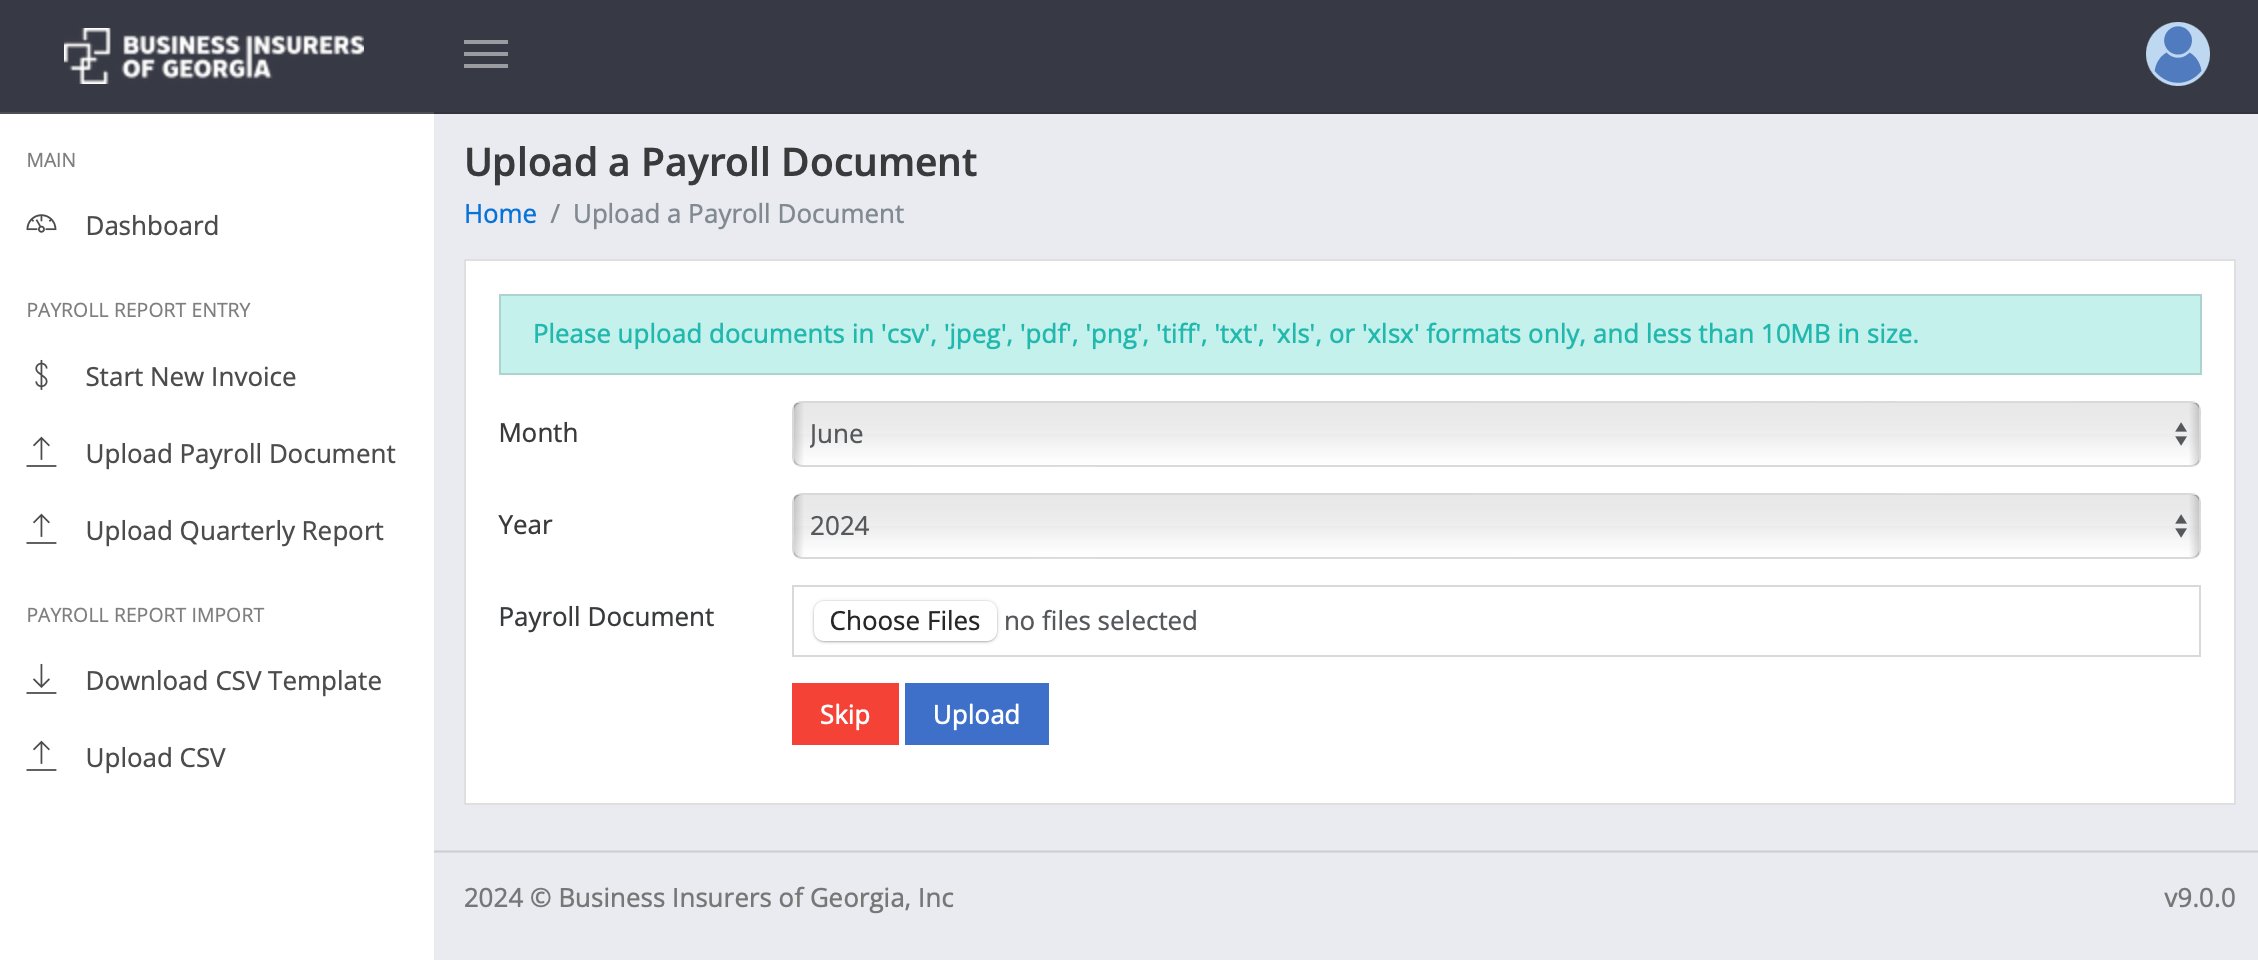
Immediately following an invoice submission, users are redirected to our Upload a Payroll Document page to securely upload your corresponding payroll reports in the format BIofGA requires. Users will be asked to specify the month and year of the payroll documents. BIofGA prefers Comma Separated Value (.csv) or Excel (.xls/.xlsx) file formats; however, you may also submit .txt, .png, .tiff, or .jpeg file types. If you need to skip this step, you can do so and return to upload at a different time by using the Upload Payroll Document button on the Dashboard.
5. Confirmation & FreshBooks Invoice E-mails
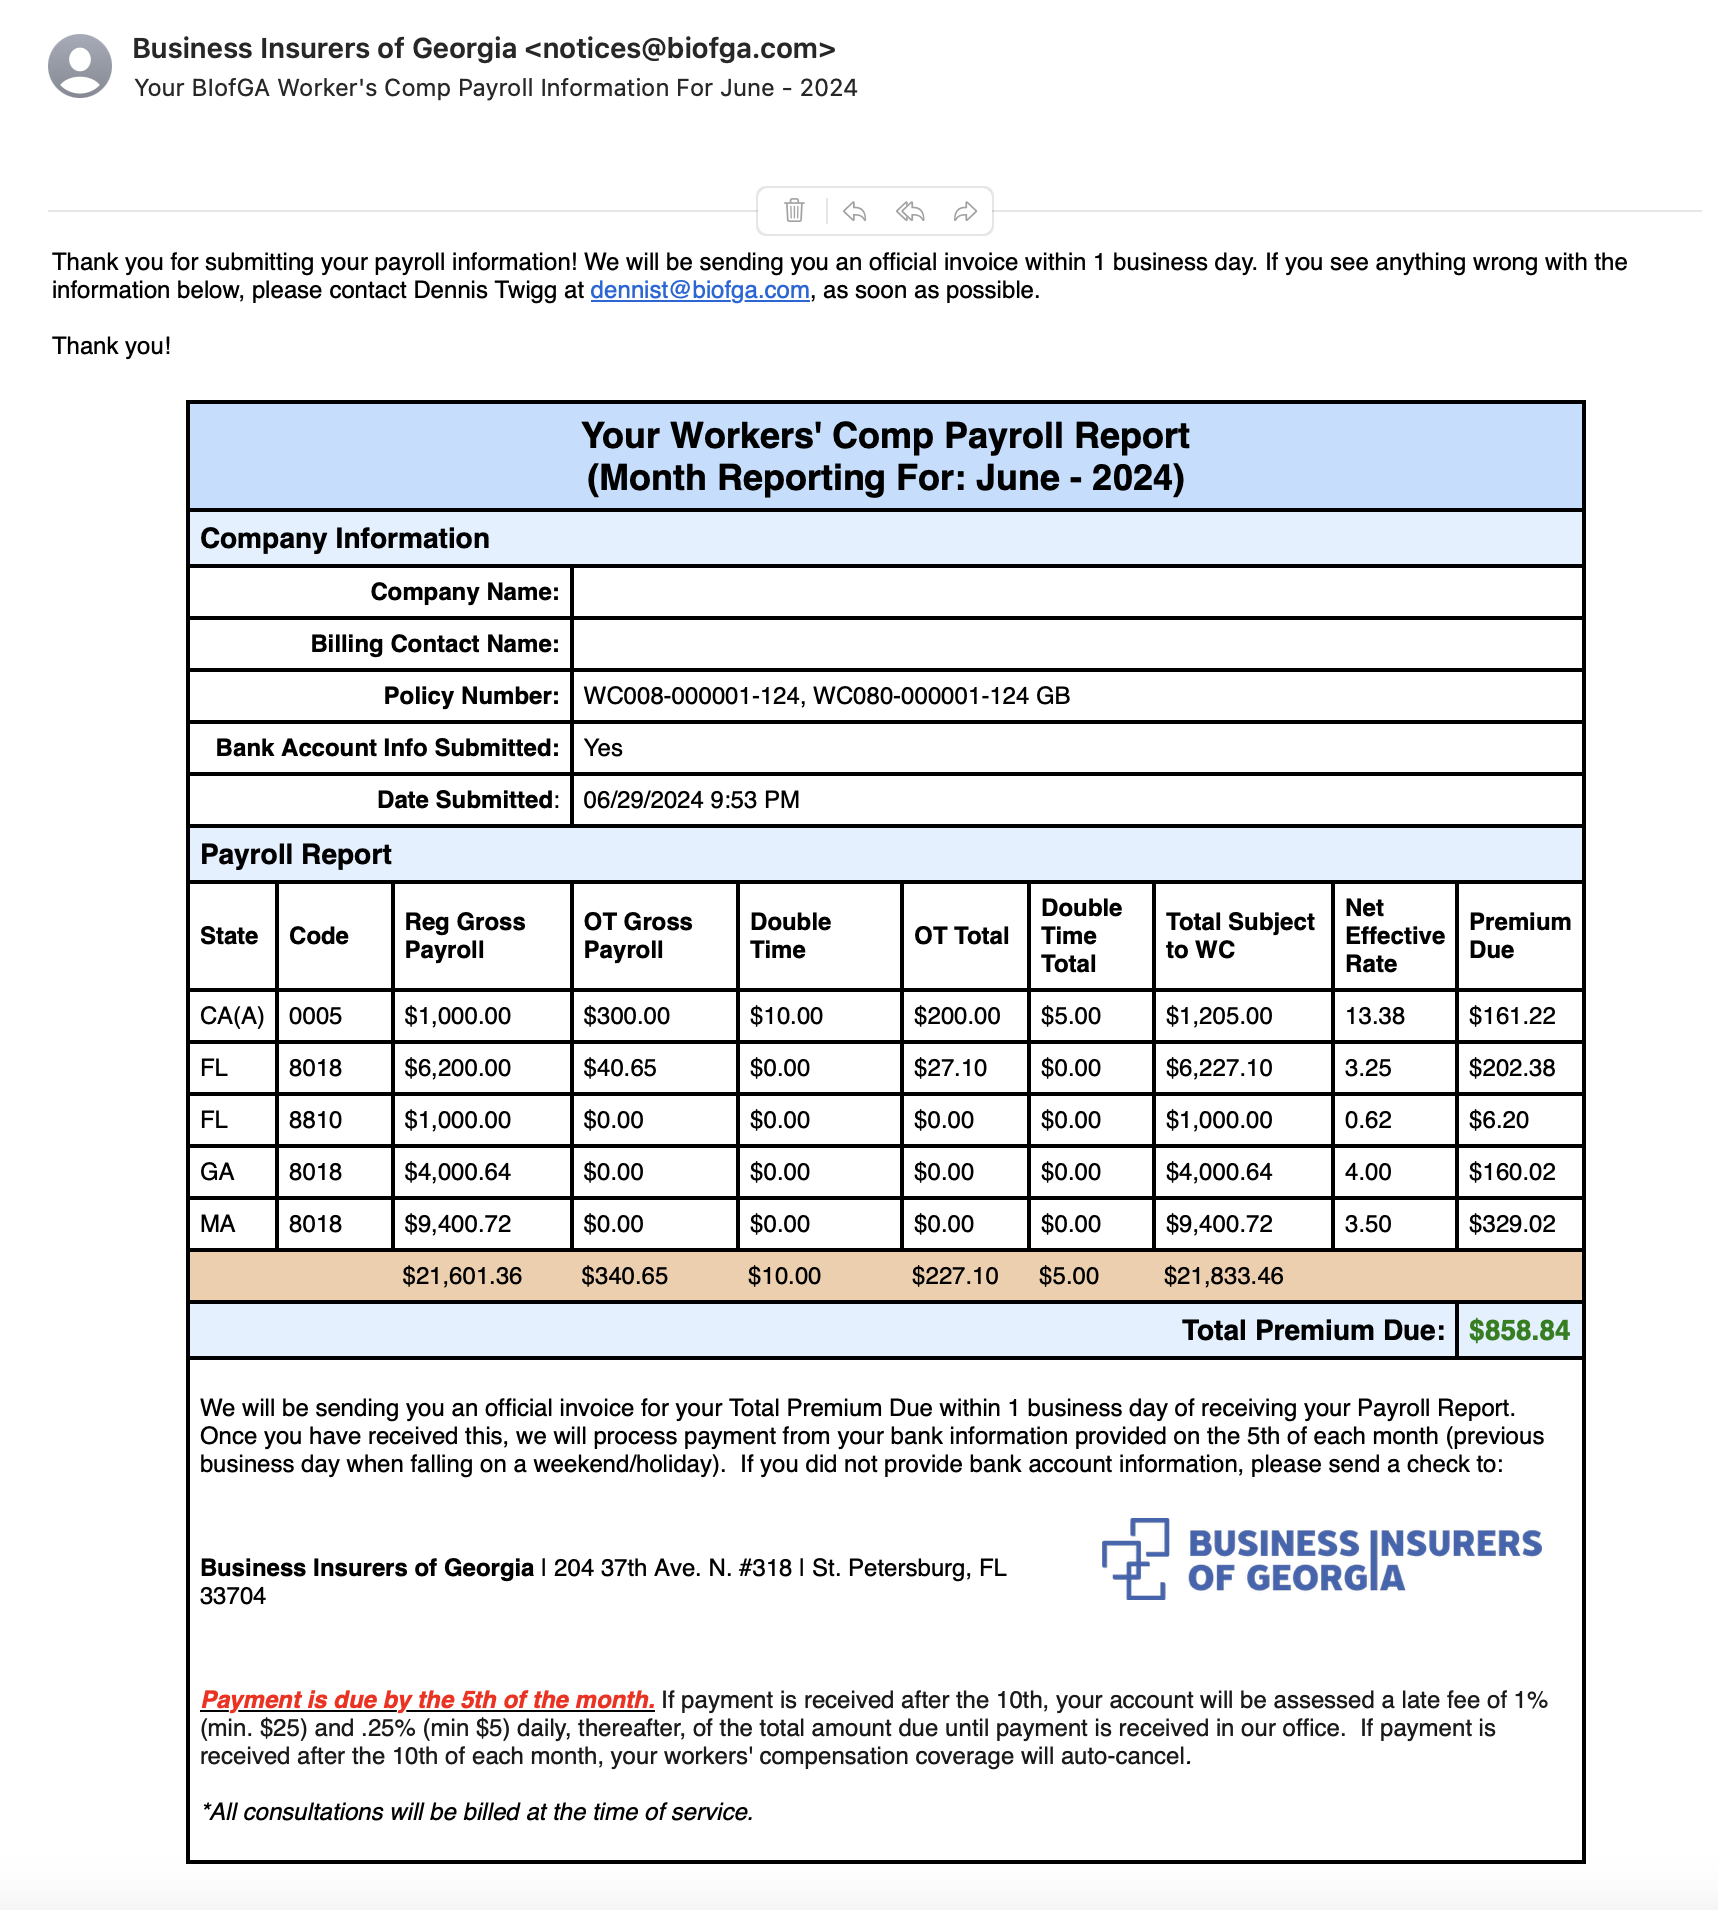
Once you’ve created and submitted an invoice on our billing portal, you will receive two e-mails from BIofGA.
Confirmation E-mail
The first e-mail will be a confirmation that includes the submitted invoice for your records.
FreshBooks Invoice E-mail
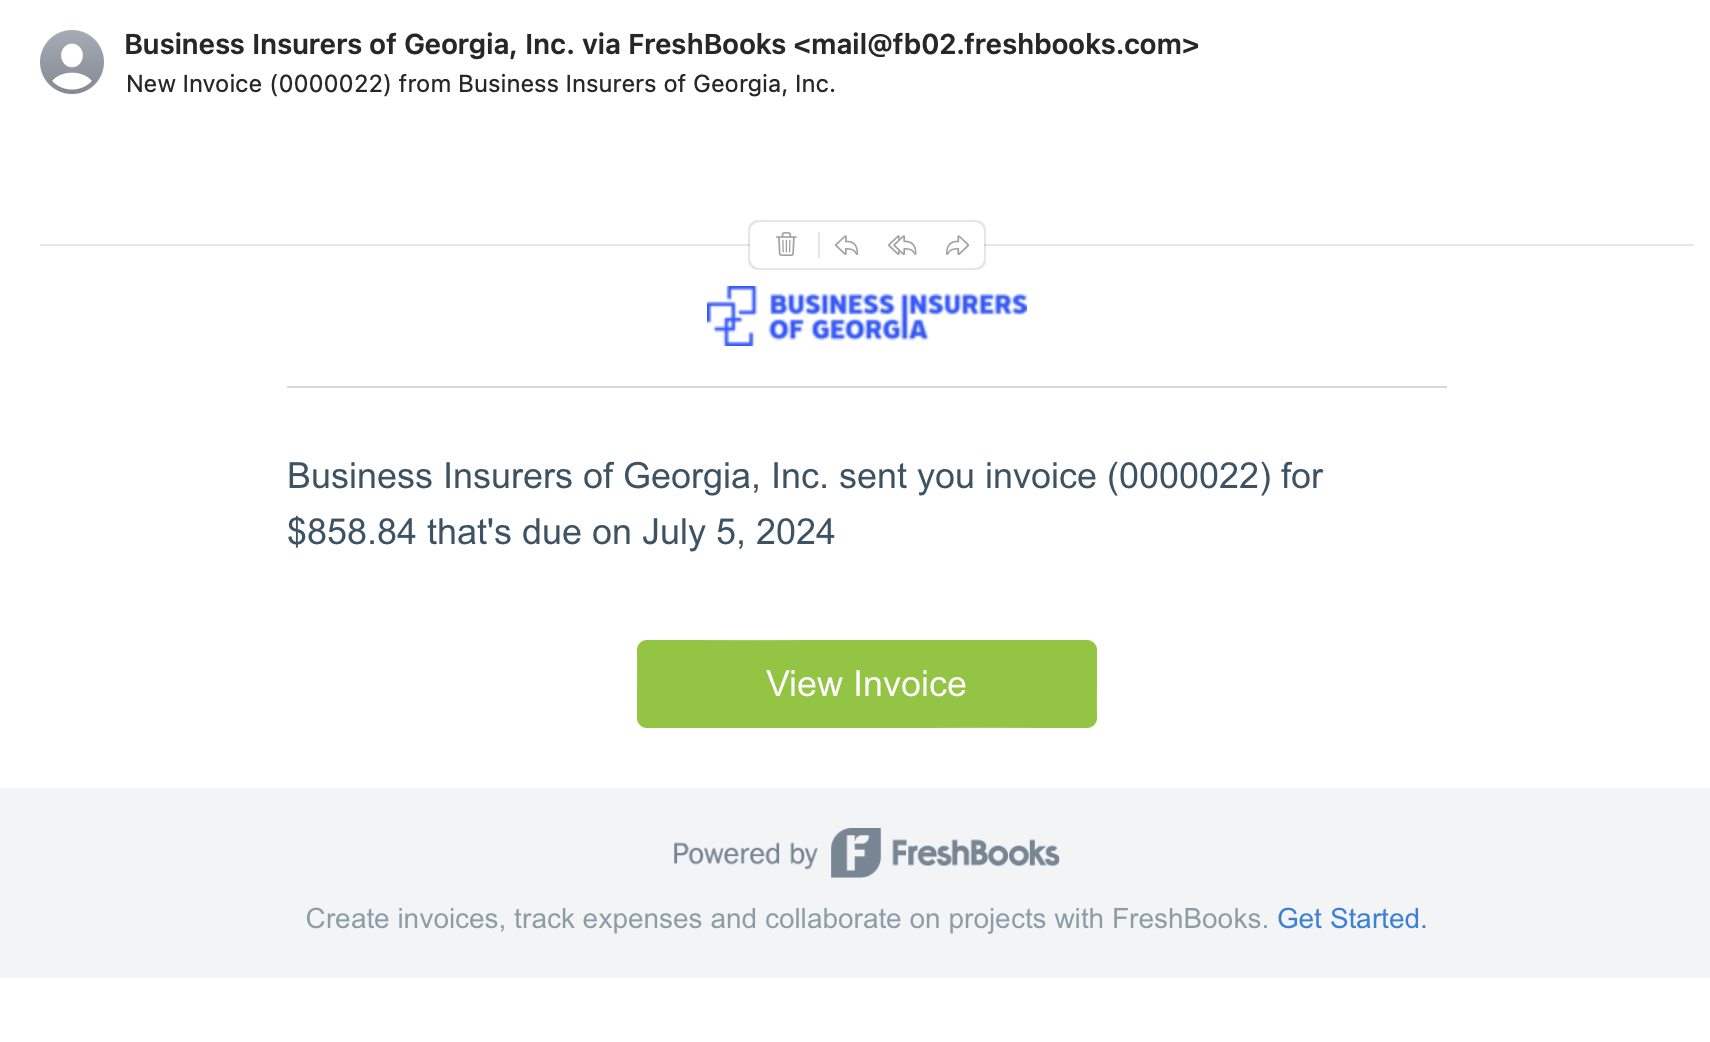
The second e-mail will be an official invoice from our invoicing vendor FreshBooks.
6. Review & Download Your FreshBooks Invoice
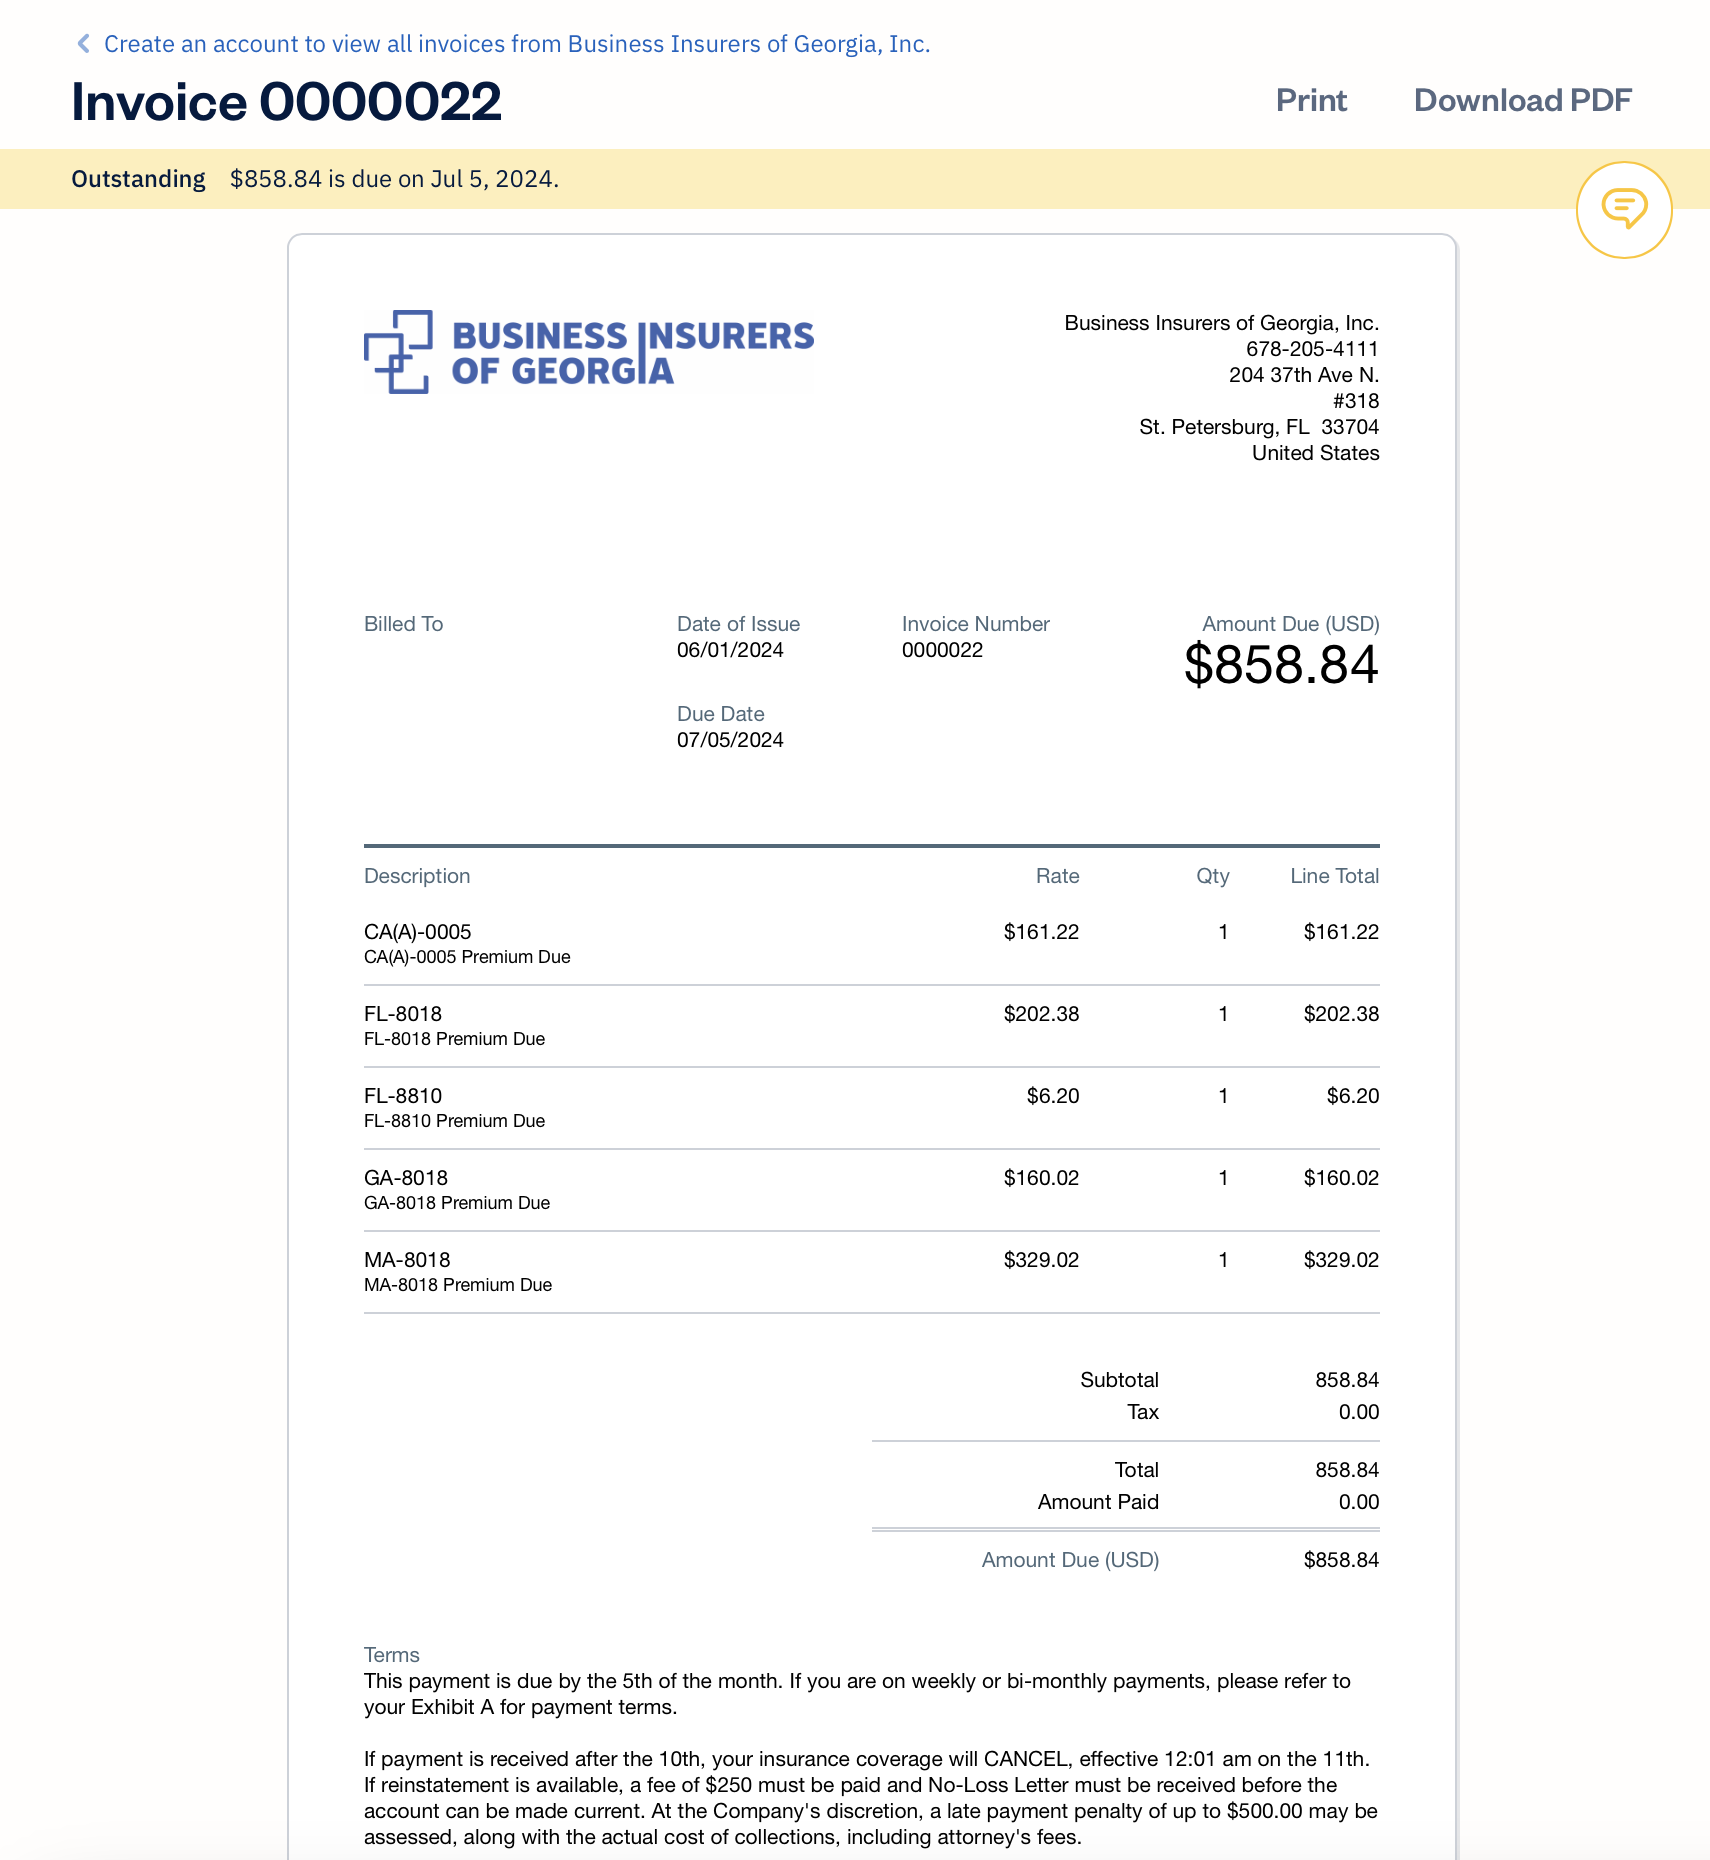
In the second e-mail containing the official invoice from our invoicing vendor FreshBooks, click on the green “View Invoice” button to view and download your official premium due invoice. Use this invoice as a reference to submit payment via check if you did not provide us with ACH withdrawal authorization.
7. Quarterly Report Uploads
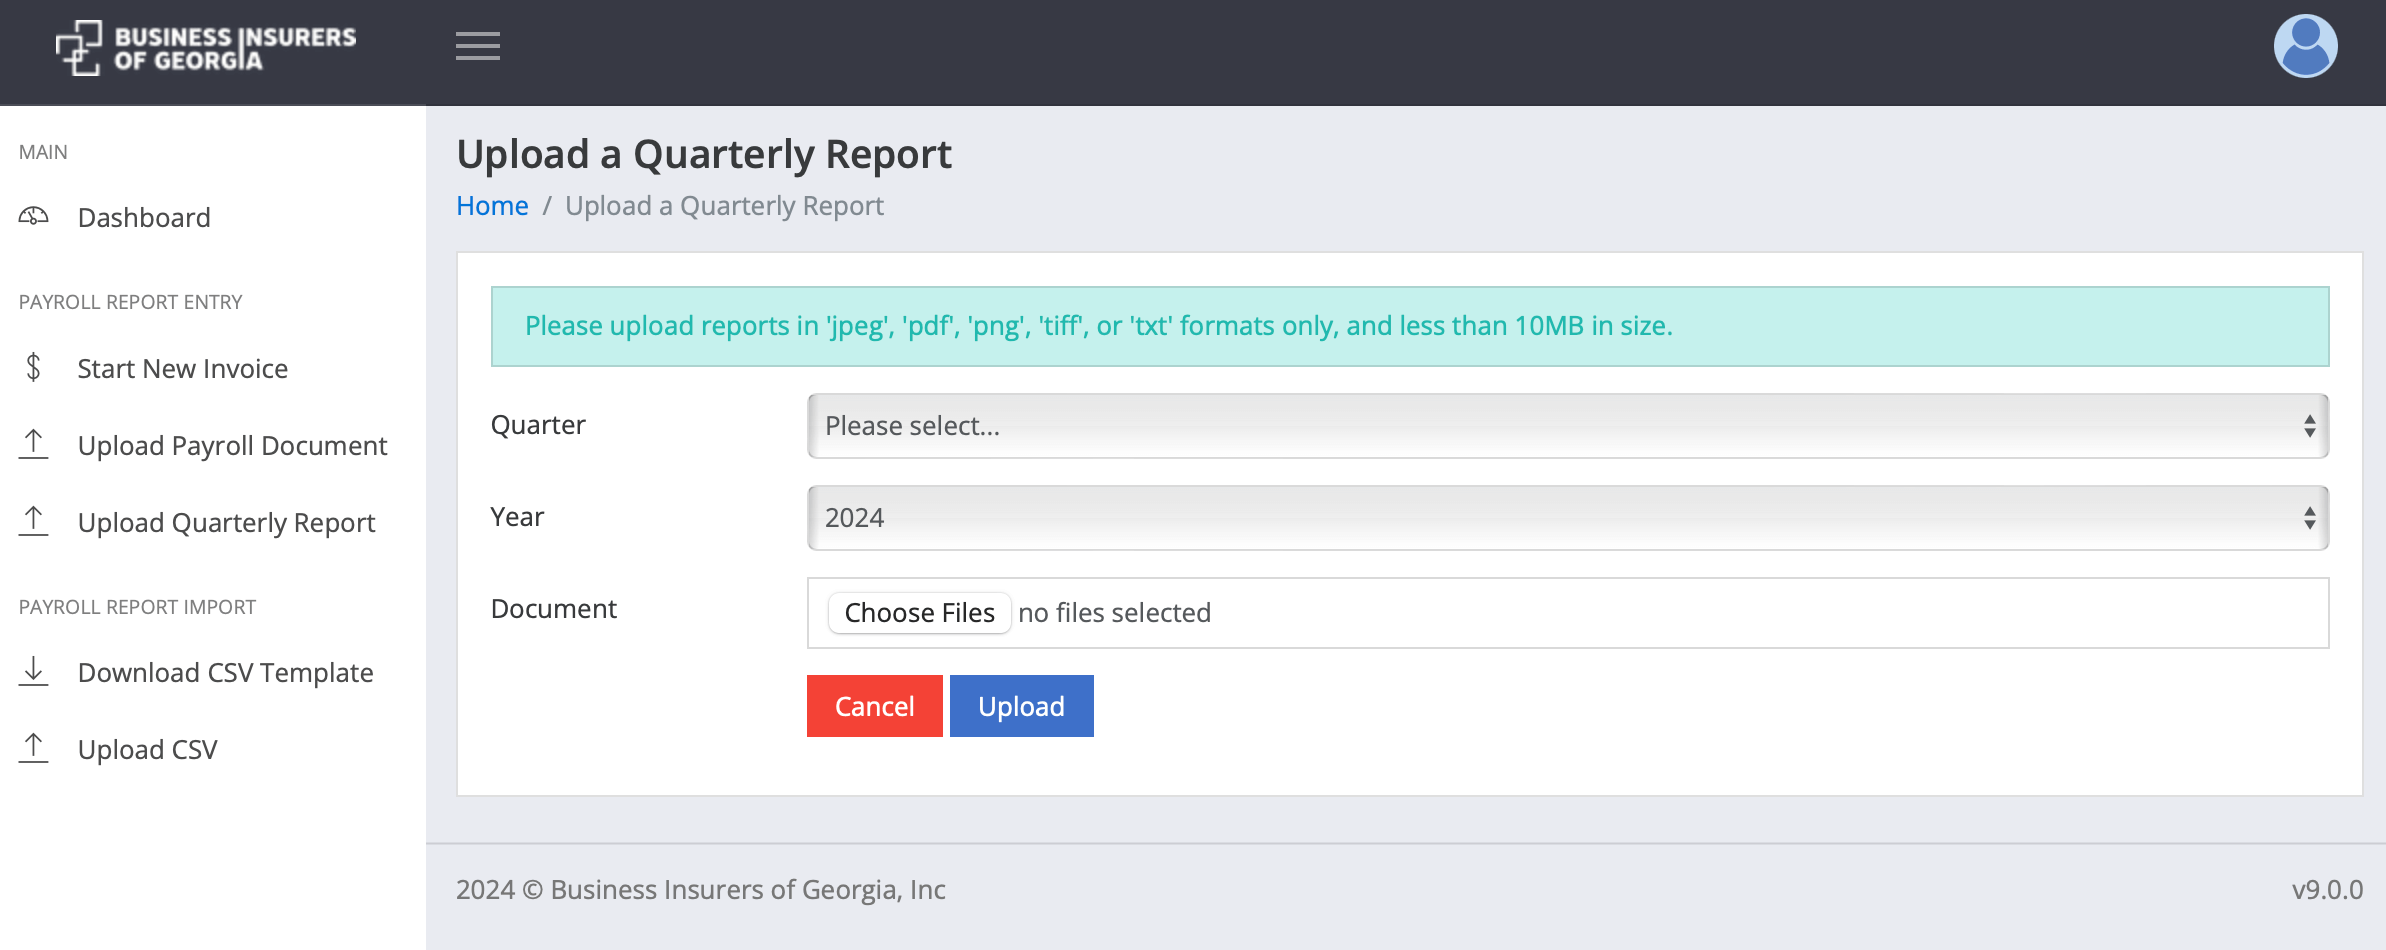
At the conclusion of each fiscal quarter, BIofGA clients utilize this same billing portal to securely upload Federal 941, State DOL tax filing reports, and copies of 1096/1099s (if applicable). Indicate the quarter and year using the dropdown menus. Then, select the applicable files from your computer to upload. PDF file formats are preferred; however, we also accept .jpeg, .png, and .tiff image formats.
